

Installing Windows Thin PC 7 on the DS918+
The Synology DS918+ has limited performance, but a streamlined version of Windows 7 can be installed via Virtual Machine Manager; you need to create a Chinese image yourself and upload it to DSM before deploying the virtual machine.
The DS918+ itself supports Virtual Machine Manager, so it can run Windows virtual machines. However, because the DS918+'s CPU is relatively weak, running a full version of Windows would be extremely laggy. Therefore, I chose to install Windows Embedded Standard 7, which is essentially a trimmed-down version of Windows 7, but this trimmed-down version includes the features I need, such as Internet Explorer and Remote Desktop.
However, during the installation process I ran into a rather troublesome problem: the pre-packaged system images available online are all English versions with no Chinese language, and after installation is complete there is no way to download a new language again, so I needed to customize a system image myself. Fortunately, the process is not complicated. Below I will explain the specific steps.
Preparation
Prepare a machine running Windows, and install UltraISO software on it.
Steps
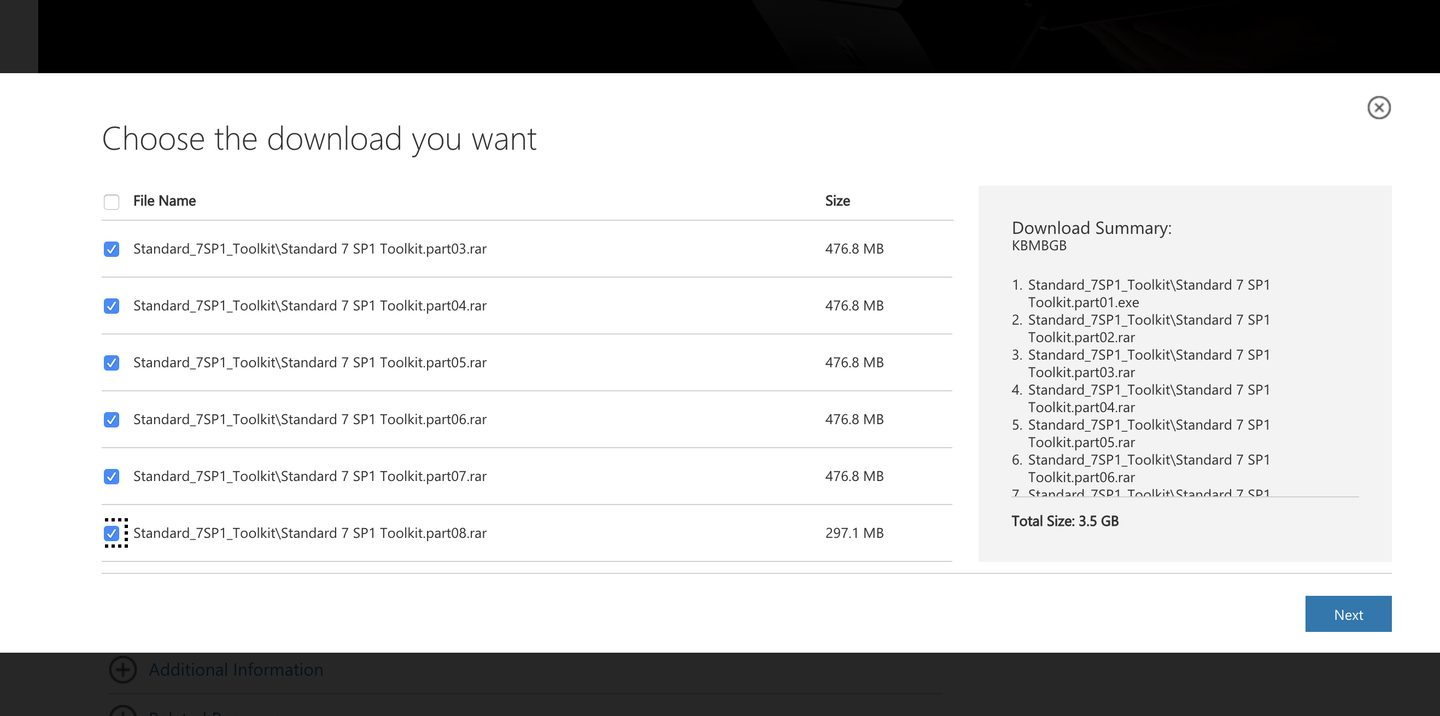
- Download Standard_7SP1_Toolkit\Standard 7 SP1 Toolkit from Microsoft's official website:https://www.microsoft.com/en-us/download/details.aspx?id=11887 , click Download, in the pop-up window select the files related to Standard_7SP1_Toolkit\Standard 7 SP1 Toolkit, then click Next, and the file download will begin.
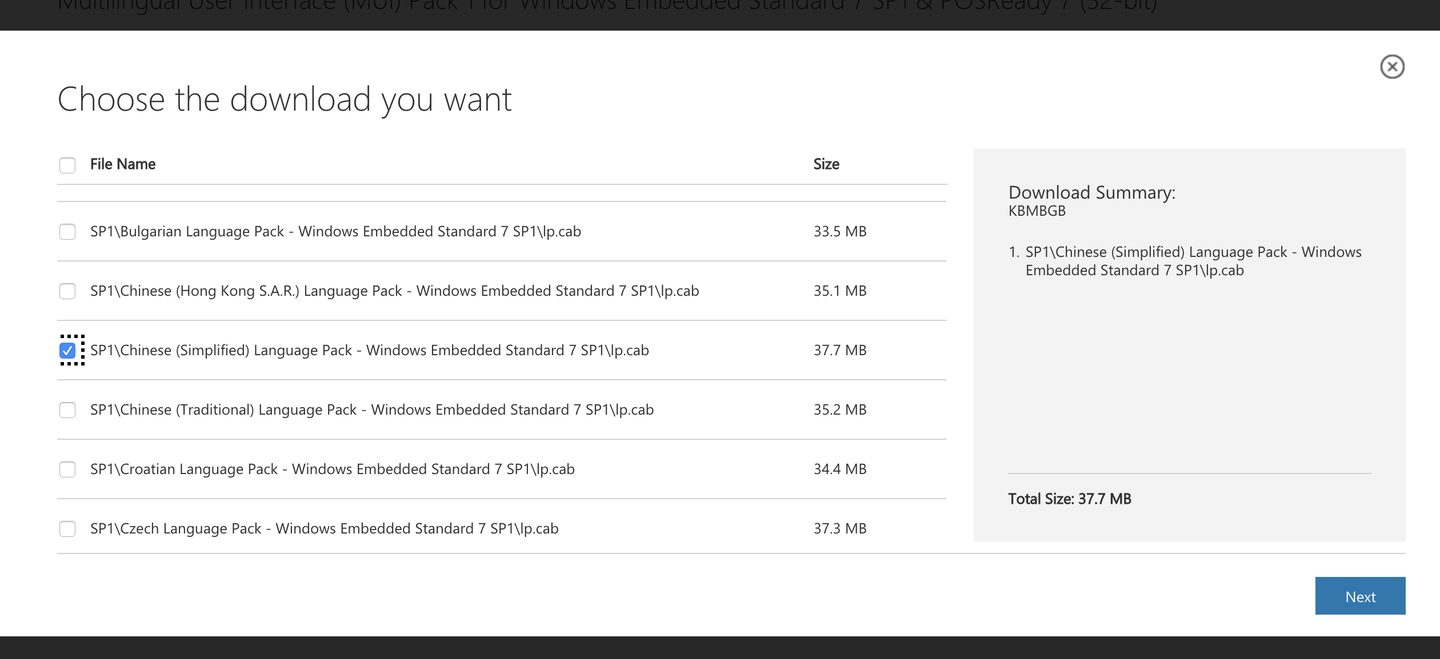
- Download the Chinese language pack from Microsoft's official website:https://www.microsoft.com/en-us/download/details.aspx?id=26215 , click Download, select the SP1\Chinese (Simplified) Language Pack - Windows Embedded Standard 7 SP1\lp.cab file, then click Next and the language pack file download will begin
- After all Toolkit files have finished downloading, click the exe file among them to begin extracting the ISO file, then use UltraISO to mount the ISO file onto the Windows system, and then run the Setup inside the ISO to install the Toolkit onto the Windows system. When installing, just choose the typical installation. Remember the installation path, as it will be used later.
- Run the Image Configuration Editor you just installed from the Start menu. After it opens, a key entry screen will pop up; ignore it for now, just select 180-day trial and then click OK.
- After opening the Image Configuration Editor, right-click in the Distribution Share on the far left and select "Select Distribution Share", then open the Toolkit installation folder, which is usually located at "C:\Program Files (x86)\Windows Embedded Standard 7", then select "DSSP1" and click "Open". At this point, our Windows 7 system image file will be opened.
- Then, in the toolbar, click in sequence: "File - Import - Import packages", then select the language pack file "lp.cab" that we downloaded earlier, and click Open. At this point, the language pack will be copied into the system image folder.
- Next, click in sequence on the menu bar: "Tools - Create Media - Create IBW Image with Full Distribution Share". In the pop-up dialog box, select our destination folder; this folder must be an empty folder. Then select x86 in Target Architecture, and click OK. At this point, the system installation image folder will be generated automatically.
- After generation is complete, it is actually still a folder, and we need to package it into an ISO file. Run "Windows PE Tools Command Prompt" from the Start menu, then run the following in the terminal that pops up:
oscdimg -b${系统镜像文件夹路径}\boot\etfsboot.com -u2 -h -m ${系统镜像文件夹路径} ${ISO文件的目的路径}\WES7.isoHere, the${}are all placeholders. Please modify the above command according to your actual situation. After entering the command, press Enter to start creating the ISO file. After successful creation, a WES7.iso file will be generated. Then upload this file to a shared folder in DSM. Here is an image I made myself:Standard7SP1x86ZhCN.iso - Create a new virtual machine in DSM's Virtual Machine Manager; choose the configuration yourself. It is recommended to set the memory to 2G and the CPU to 4 cores, otherwise it will be too laggy. Finally, mount the extracted ISO file.
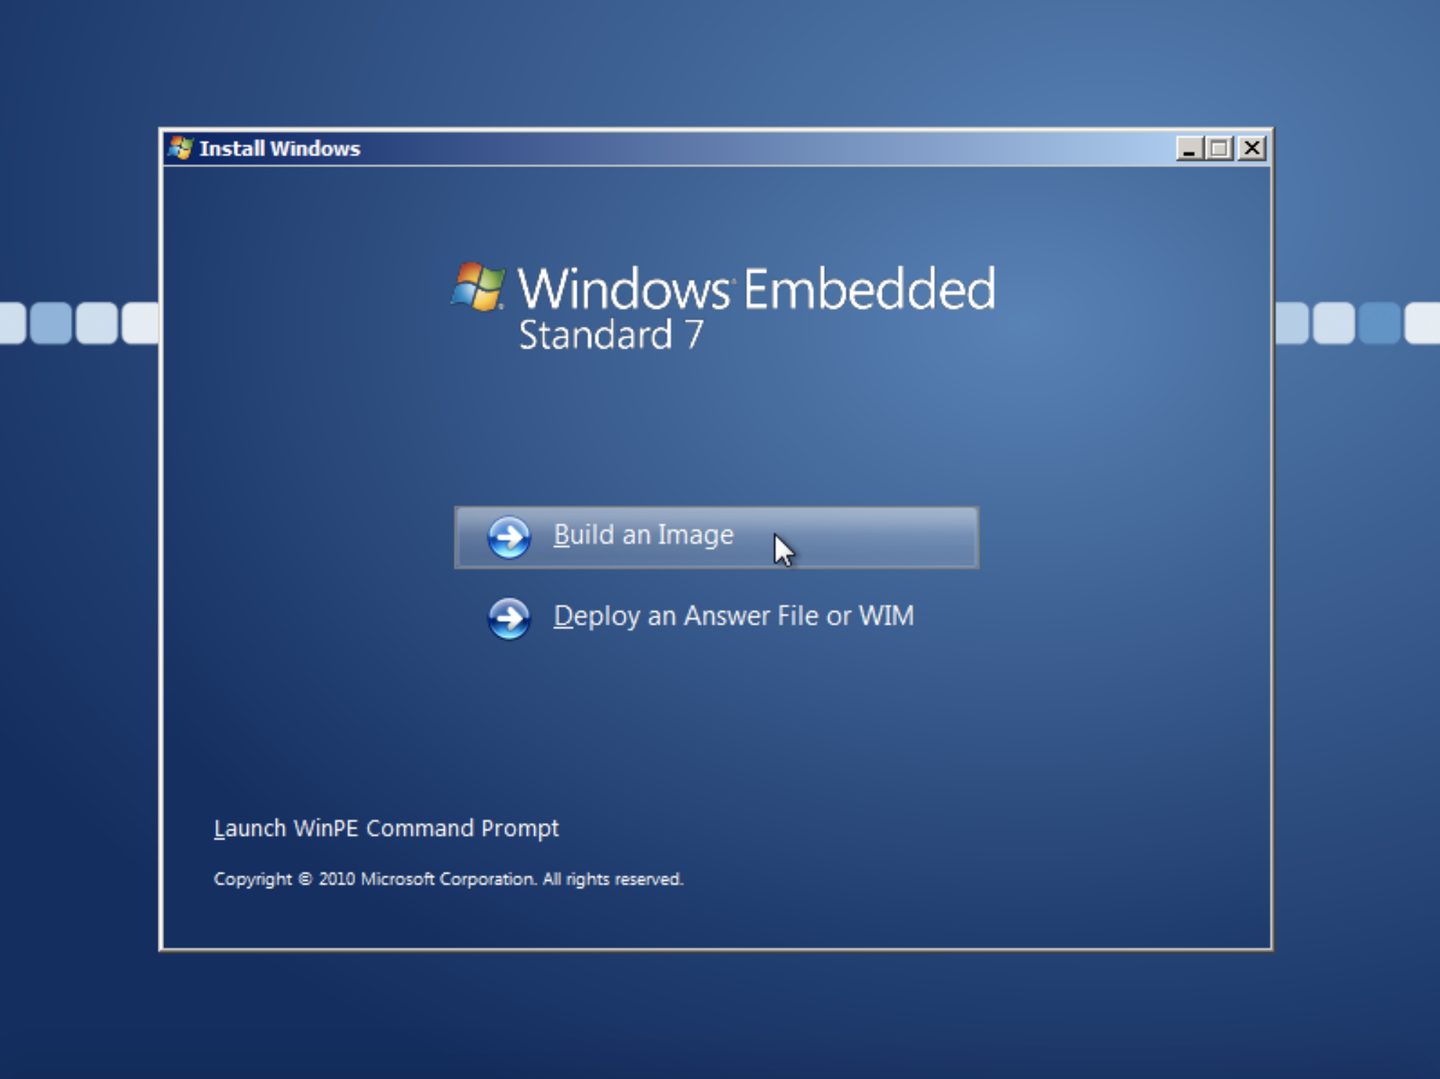
- Start the virtual machine. After reaching the startup screen, click in sequence:
- Build an Image
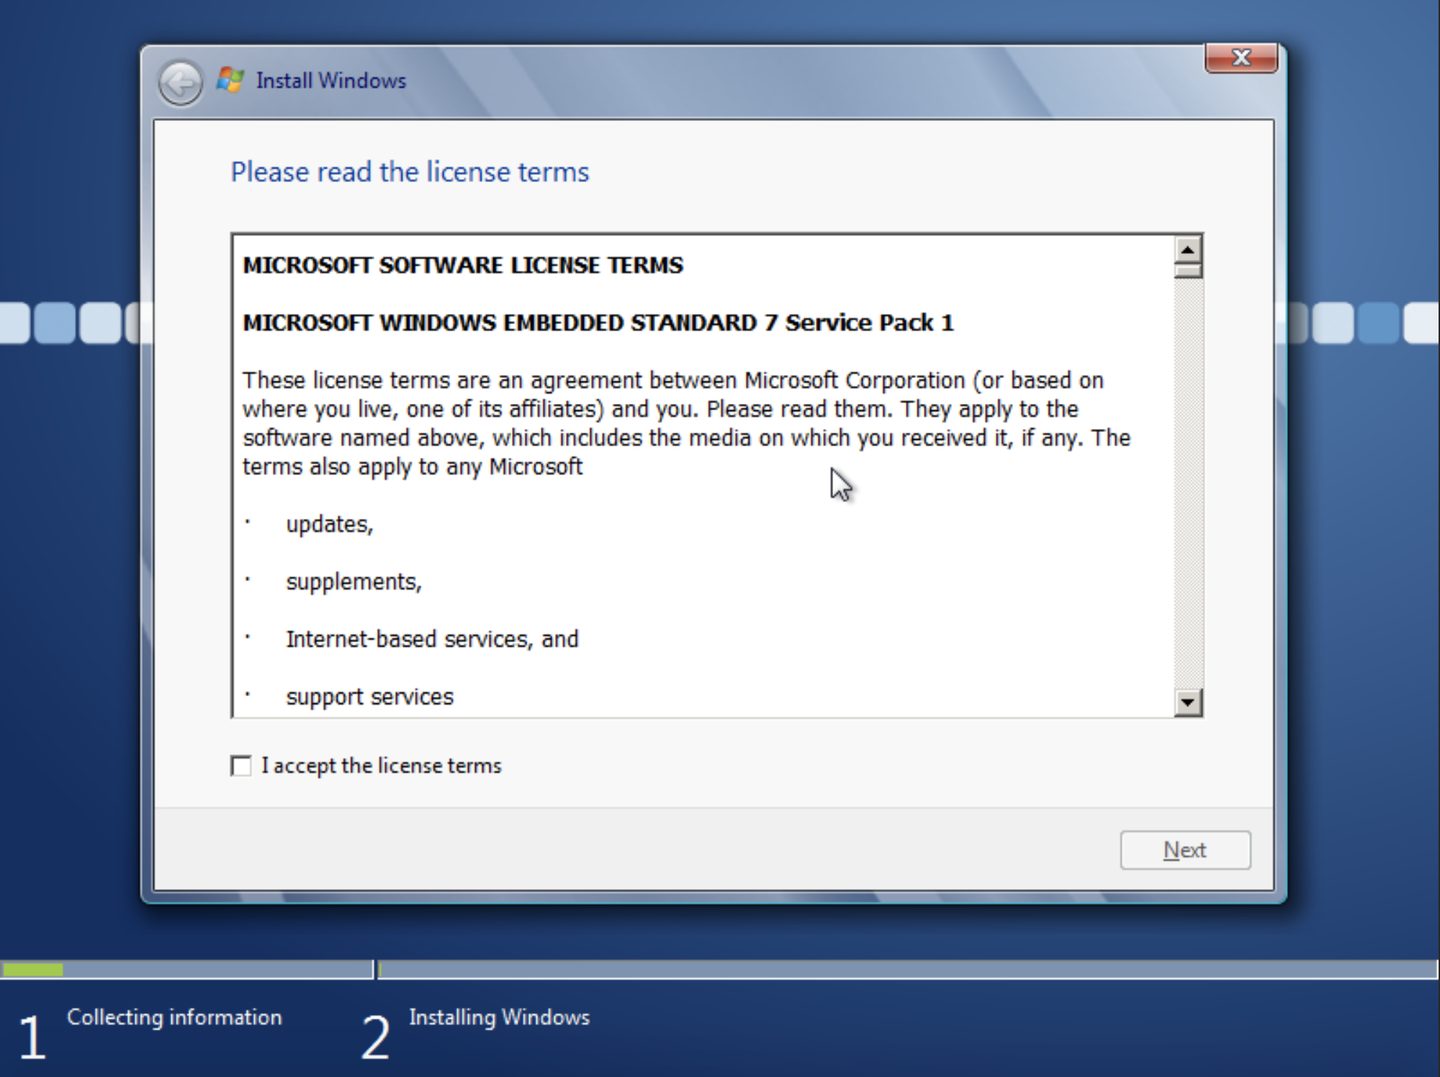
- I accept the license terms, then click Next
- In Use a template, select Thin Client
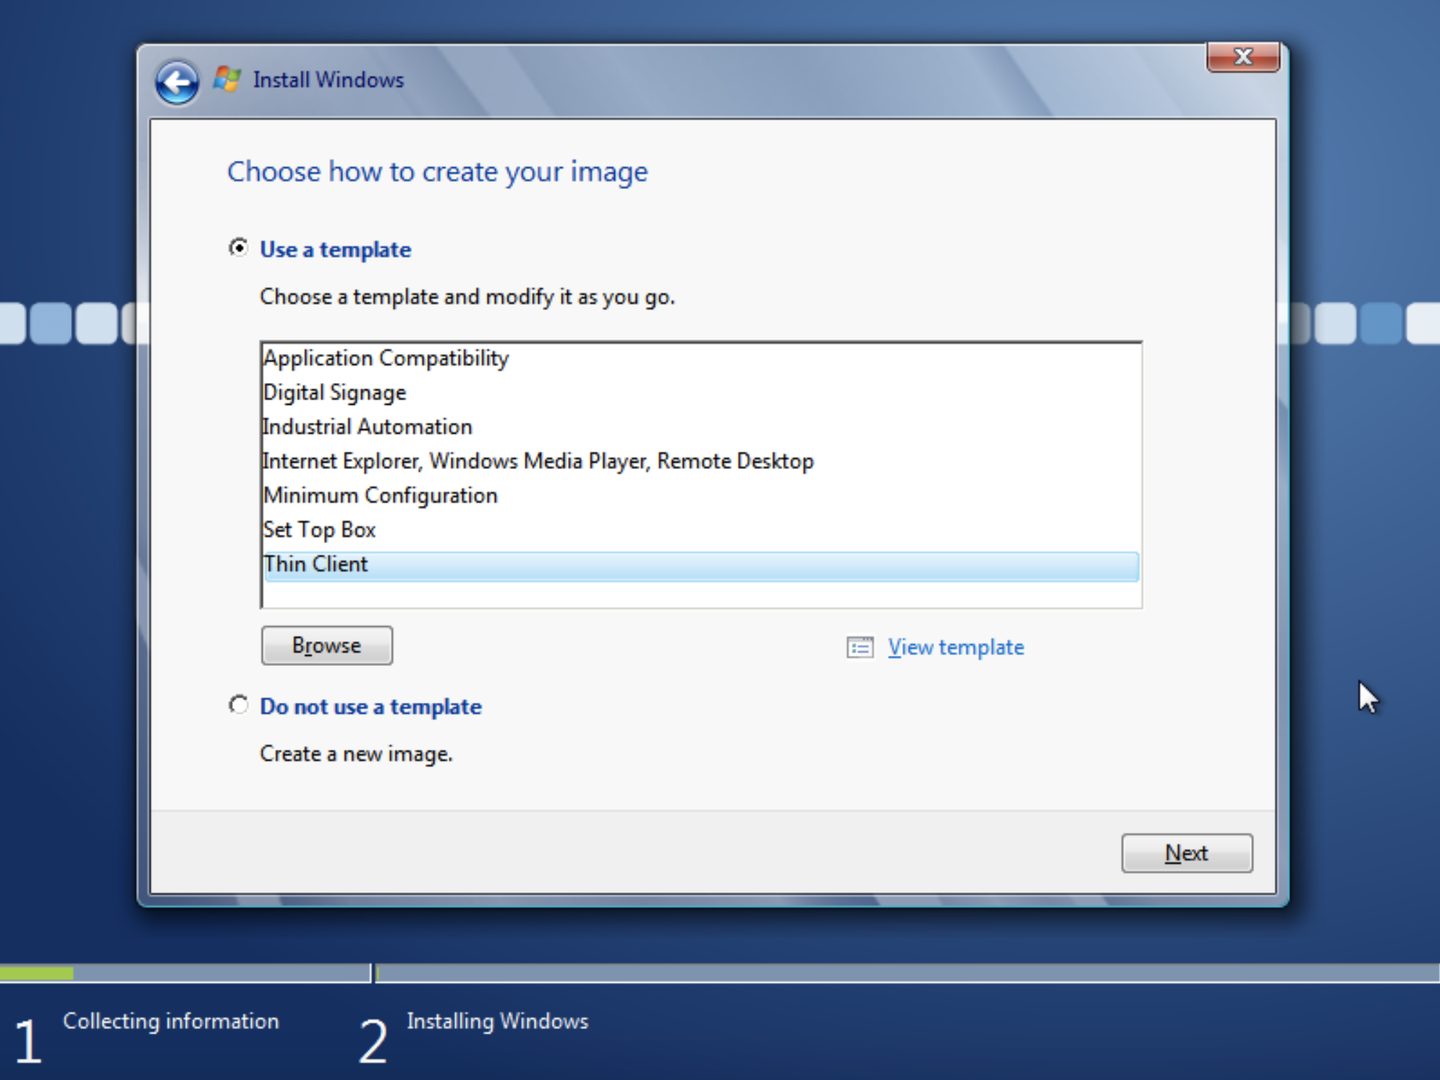
- On the language screen, select Chinese, then just keep clicking Next for the following steps, and finally you will reach the system installation screen
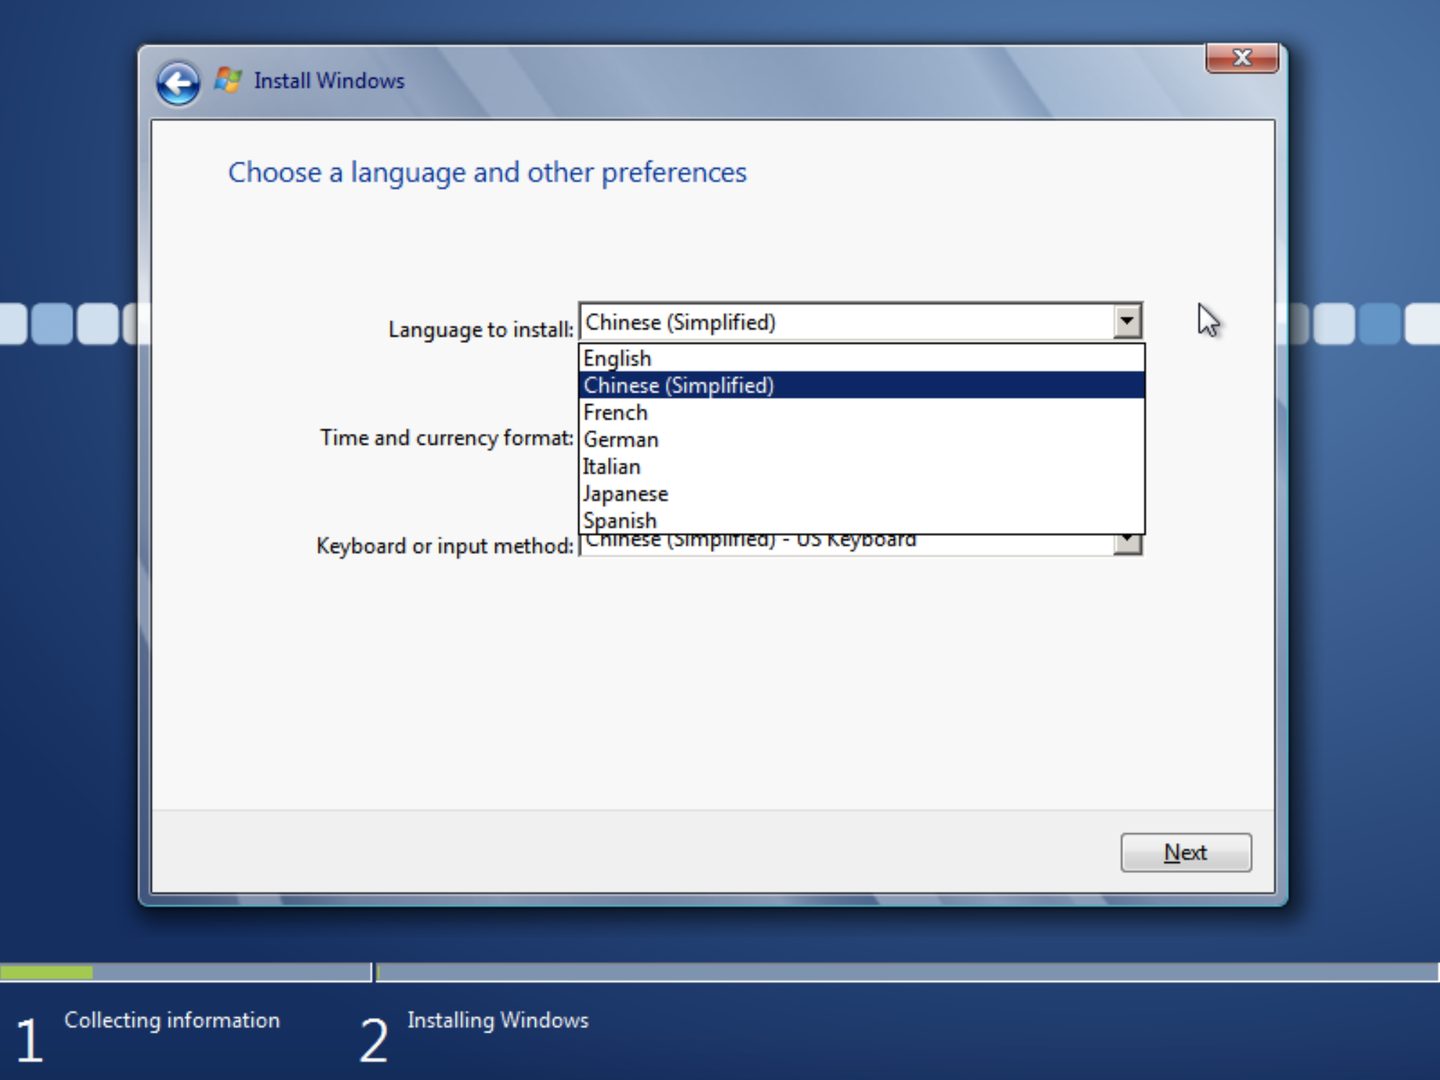
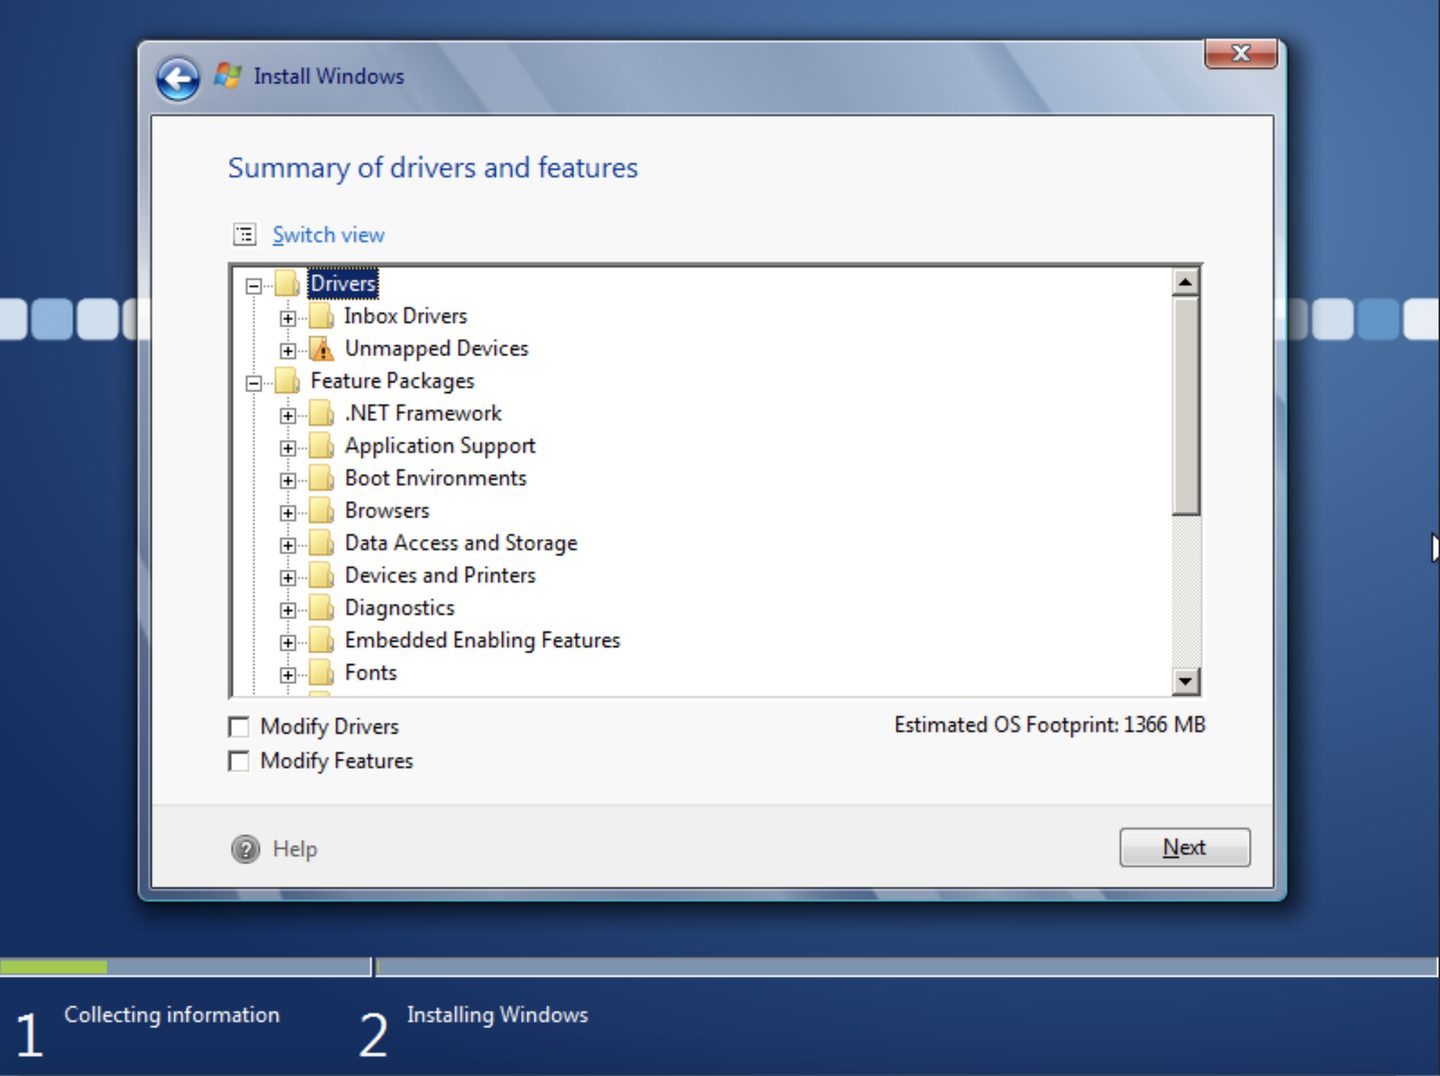
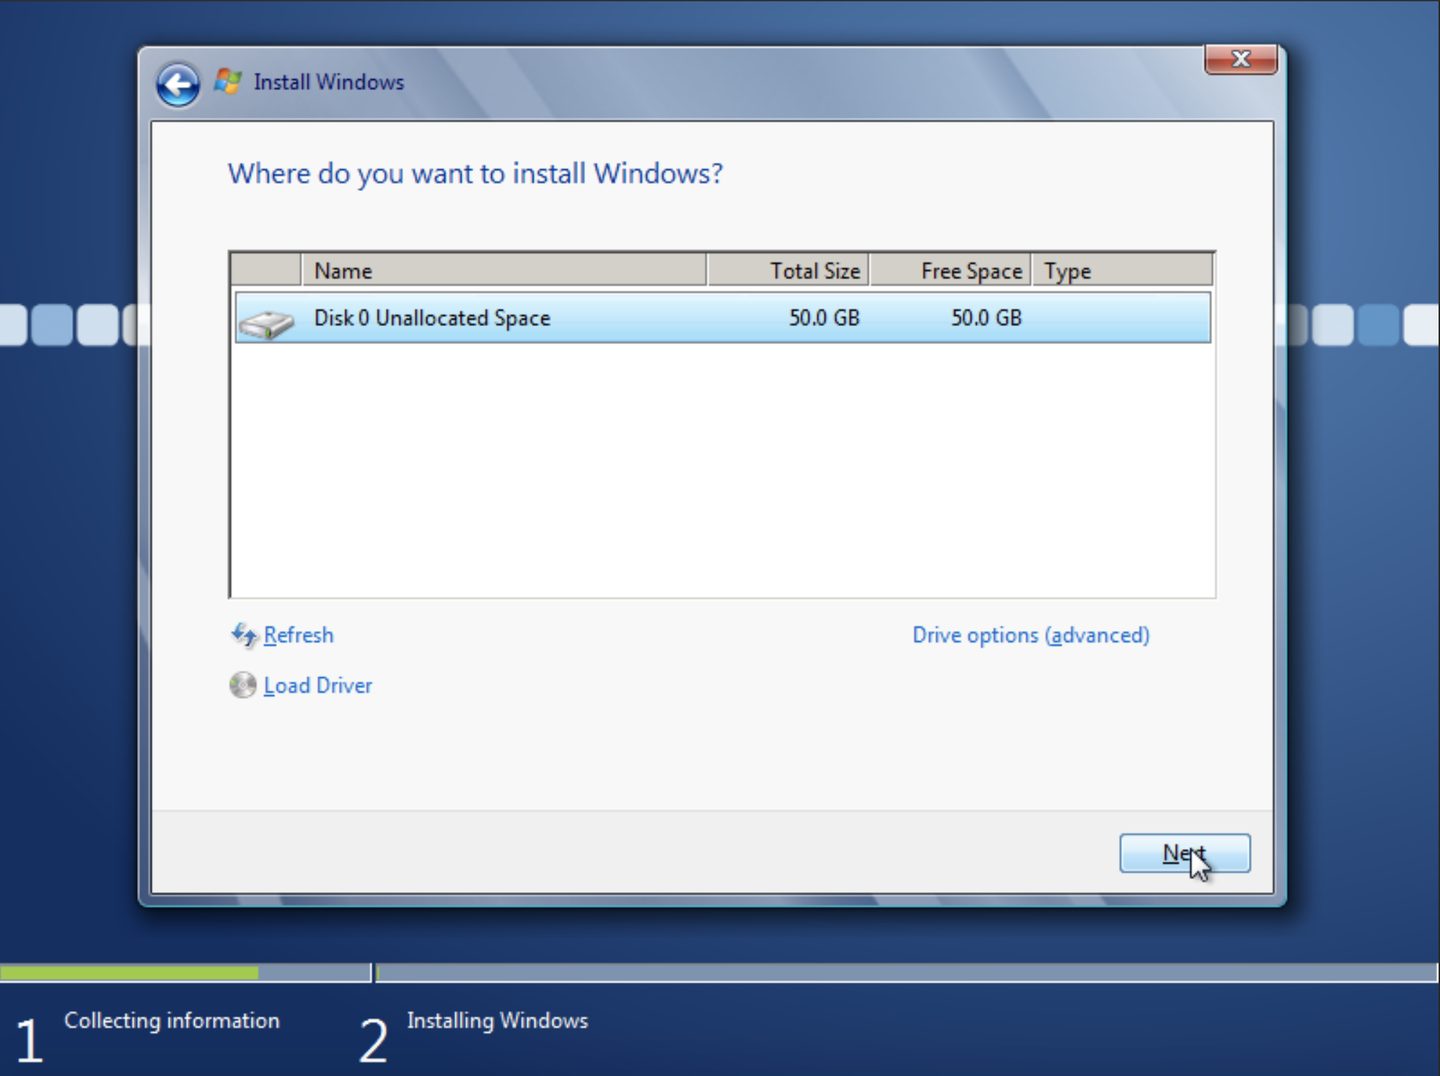
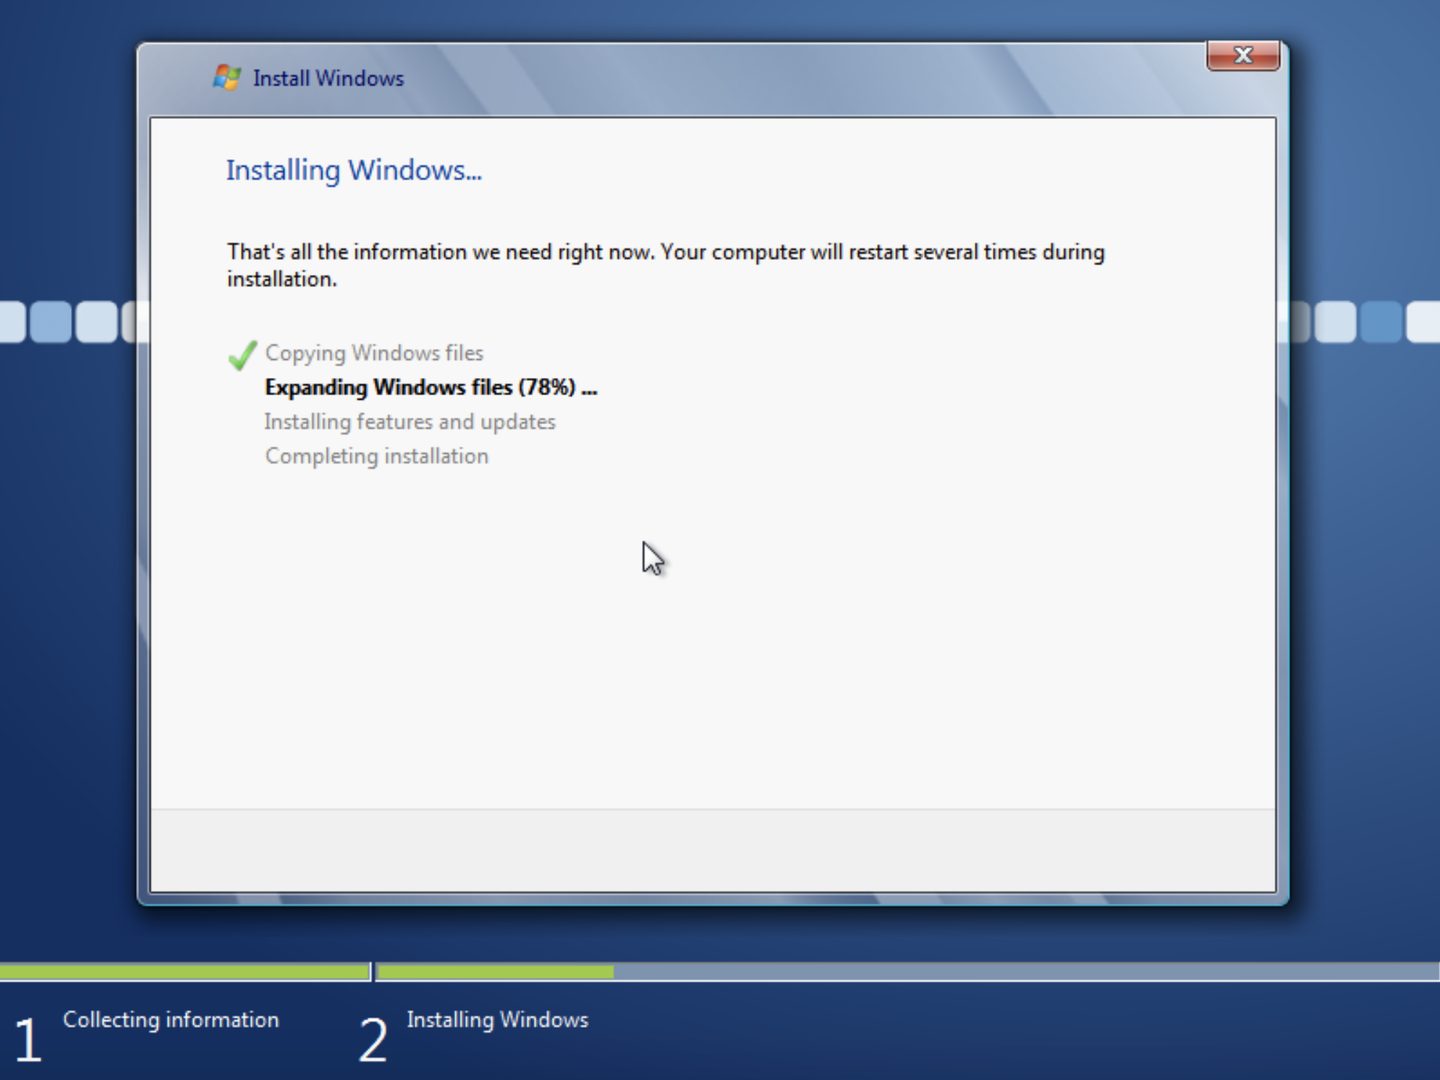
- During the installation process, you will be prompted to enter a key. Be sure to enter the key at this point, otherwise you will not be able to enter it after the installation is complete. For the key, please use this magic key:
XGY72-BRBBT-FF8MH-2GG8H-W7KCW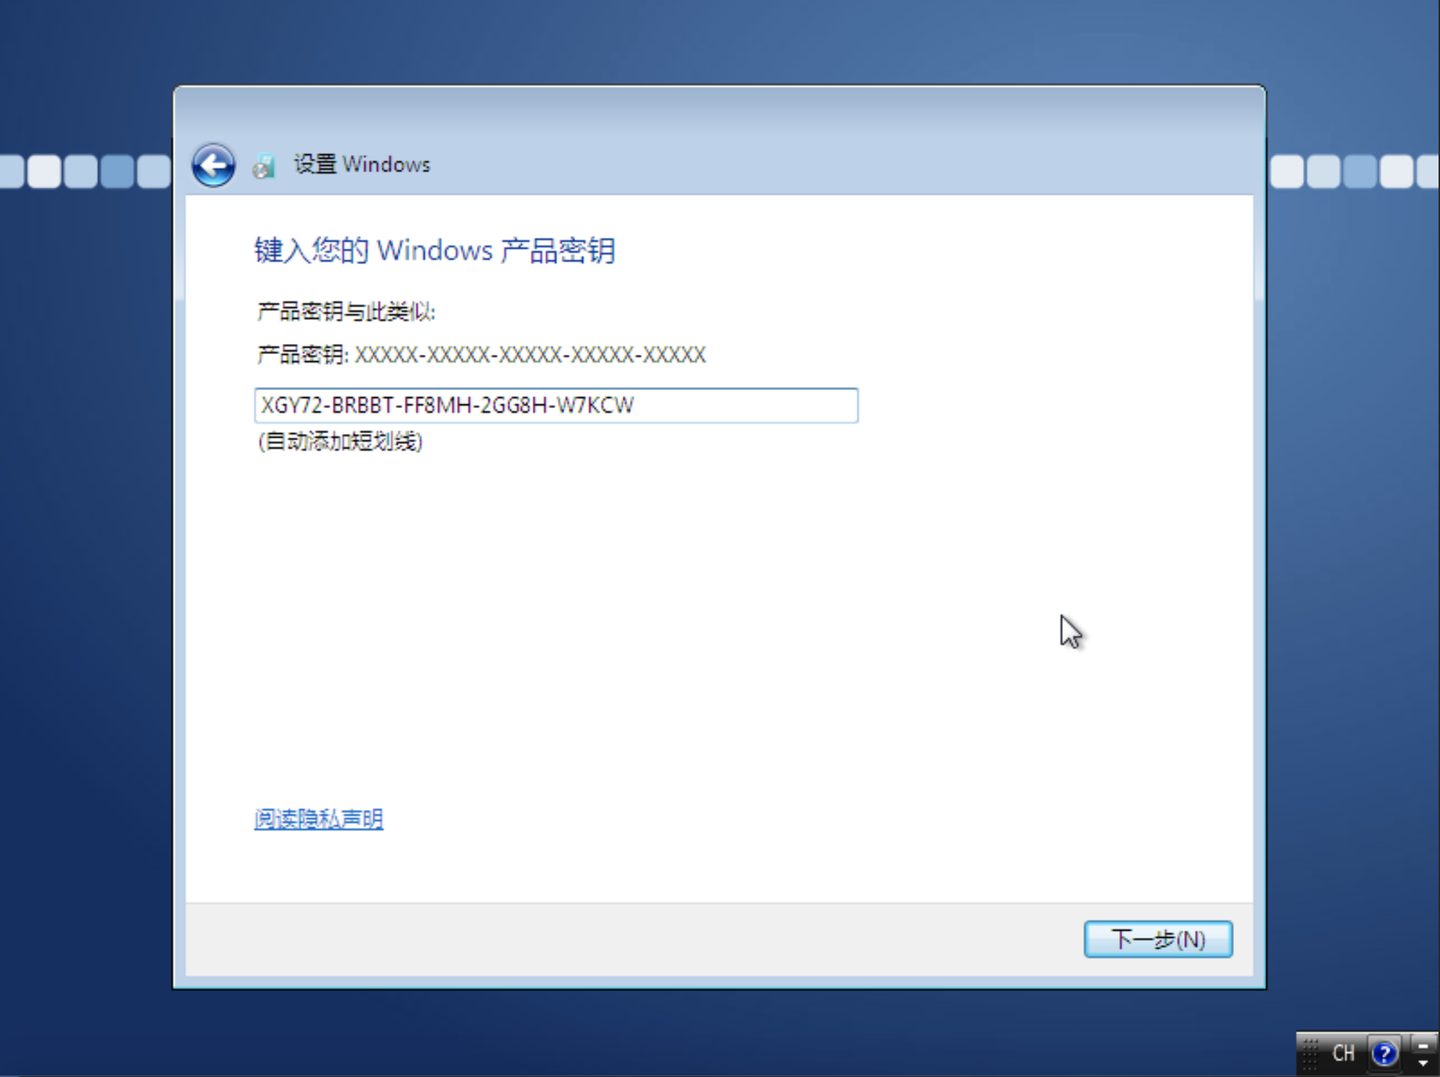
- Follow the process and click through step by step. If nothing unexpected happens, the system should now be installed. Next comes setting up the system and installing updates, etc.